Polishing gold is a simple way to bring back its original, deep lustre. It starts with a gentle pre-clean using mild soap and warm water, followed by a careful buff with a specialised jeweller's cloth. This process lifts away the fine scratches that cause dullness, revealing that beautiful, reflective shine. It’s a crucial step in maintaining both the beauty and the value of your most cherished pieces.
Why Your Gold Jewellery Deserves a Fresh Shine

Over time, even the most cared-for gold can lose its sparkle. Daily contact with lotions, natural skin oils, and general exposure to the elements builds up a film that dulls the surface, hiding its natural glow. While regular cleaning is vital, polishing is the next-level treatment that truly revitalises your jewellery.
The Difference Between Cleaning and Polishing
It helps to think of it this way: cleaning removes the surface grime, but polishing smooths away the microscopic scratches that make gold look tired. It’s the key to achieving that deep, mirror-like finish you remember from when the piece was brand new. This guide will walk you through how to polish gold jewelry safely and effectively from home.
Proper maintenance isn't just about looks; it's about preservation. Here in the UK, where gold jewellery is a cornerstone of so many personal collections, this kind of care is essential. The UK Jewellery & Watch Stores industry brought in an estimated £8.1 billion in revenue in 2025, a testament to how much we value these items. You can find more insights on the UK jewellery market over at Mintel.com.
Polishing does more than just restore shine. Regular, gentle polishing can extend the life of your gold jewellery by up to 30%. It prevents the build-up of damaging residues and reduces the need for costly repairs down the line.
For particularly sentimental items like wedding bands, understanding the finer points of regular care is even more important. Our dedicated guide on cleaning wedding rings offers specialised tips just for these treasured symbols.
Getting Your Gold Polishing Kit Together
To get that professional-looking shine on your gold jewellery, you first need to gather the right gear. It might be tempting to grab some kitchen roll or an old t-shirt, but these are more abrasive than you think. Over time, they’ll leave behind a network of tiny scratches that ultimately dull the surface. Putting together a dedicated kit is the only way to make sure every polish is both safe and effective.
The heart of your kit is, of course, the polishing cloth. For the best results, I always recommend a specialised jeweller's rouge cloth. These usually have two sides: one is treated with a very fine polishing compound (the rouge) that gently removes tarnish, and the other is for buffing it up to a brilliant shine. A good-quality, lint-free microfibre cloth also does a fantastic job for that final buff and polish.
Your Workspace and Cleaning Solution
Before you even think about polishing, you have to give your jewellery a quick clean to get rid of any surface oils and grime. You don't need anything fancy or harsh here; a simple, effective solution is always best.
Just mix a few drops of a mild, phosphate-free washing-up liquid into a bowl of warm water. This gentle mix is perfect for lifting away the daily build-up without being aggressive on the gold. It's actually the same method many professionals use for a first-stage clean.
Setting up a safe workspace is just as important as the tools themselves. Always work over a soft towel on a flat surface, and stay well away from the sink. It’s a simple little habit that stops a stray earring or a delicate chain from disappearing down the drain.
With your cleaning solution mixed and cloths ready, you're almost set to go. The table below breaks down everything you'll need for a complete at-home gold polishing kit. Taking a moment to organise your tools like this makes the whole process smoother and helps you avoid any accidental damage to your treasured pieces.
Your Gold Polishing Toolkit
Here’s a simple breakdown of the essential items you'll want to have on hand for safely polishing your gold jewellery at home.
| Tool Category | Essential Items | Purpose |
|---|---|---|
| Cleaning | Bowl of warm water, Mild washing-up liquid | To gently remove surface dirt, oils, and lotions before polishing. |
| Drying | Soft, lint-free cloth | For thoroughly drying the jewellery after cleaning to prevent water spots. |
| Polishing | Jeweller's rouge cloth or microfibre cloth | To safely buff away tarnish and fine scratches, restoring lustre. |
| Detailing | Soft-bristled baby toothbrush | Ideal for cleaning intricate designs and around gemstone settings. |
Having these basics ready means you can tackle the job properly and bring back that beautiful, like-new glow without any fuss.
The Polishing Method for Brilliant Results
With your tools ready and your jewellery sparkling from its pre-clean, it's time to bring back that deep, brilliant lustre. This is where finesse is far more important than force. Polishing gold isn’t about aggressive scrubbing; it's a gentle process of buffing away microscopic imperfections to create a flawlessly smooth surface that reflects light beautifully.
The whole process flows logically: clean first, dry completely, and only then begin to polish.
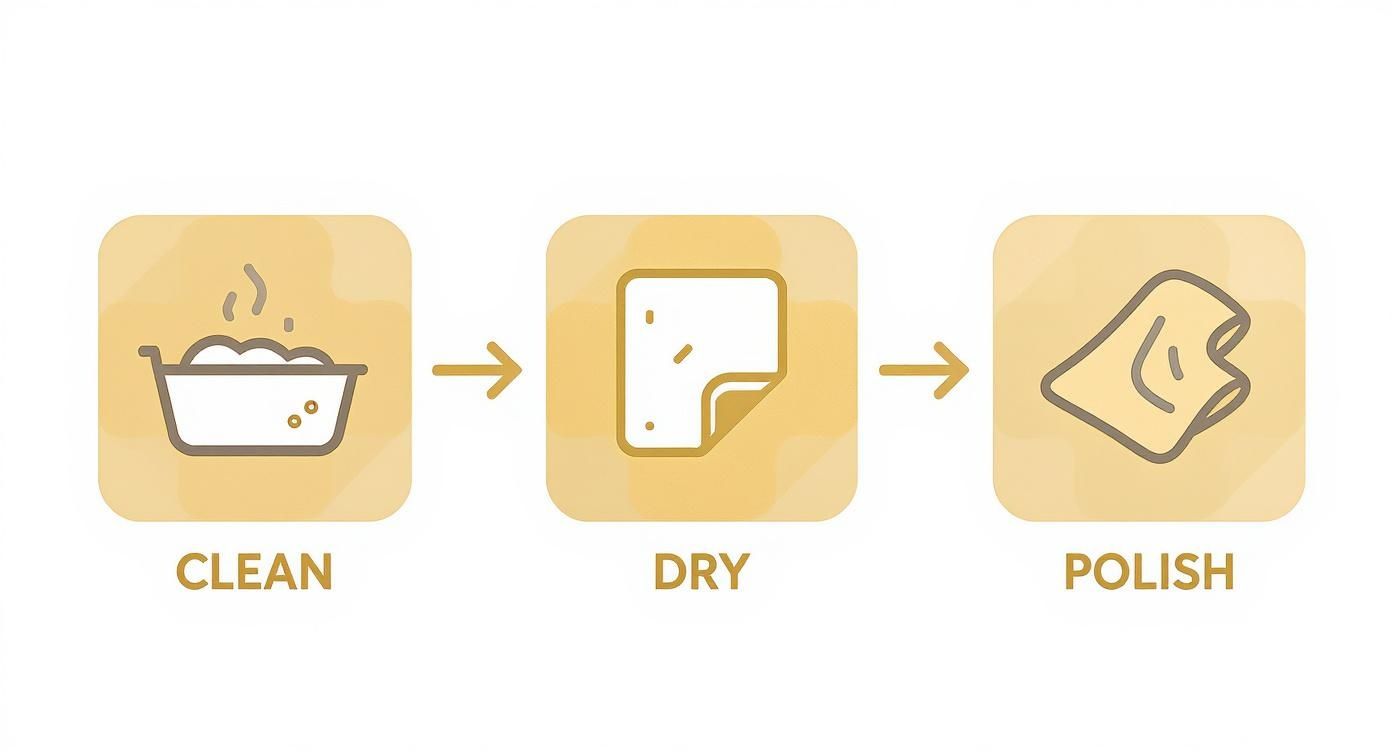
This visual guide shows the essential order of operations. Following it ensures you never polish a piece that still has surface grime on it, which would only create more scratches.
Your technique is everything. Using your jeweller's rouge cloth or a clean microfibre cloth, apply very light pressure in consistent, circular motions. Think of how you’d polish a pair of fine leather shoes—it’s a patient, rhythmic buffing that gradually builds the shine. Rushing the job or pressing too hard can create new, uneven marks.
Mastering the Technique
For a simple gold band, this is straightforward. Work your way around the entire surface, making sure your circular motions overlap slightly for an even finish. For more complex items, however, you'll need to adapt your approach.
- Delicate Chains: Don't try to polish each individual link. Instead, lay the chain flat on your soft towel. Gently pinch it within the cloth and draw it through your fingers slowly. Repeat this a few times, rotating the chain to cover all sides.
- Intricate Designs: For pieces with detailed engravings or crevices, fold your cloth over a cotton swab or the tip of your finger. This gives you the precision to get into those smaller areas without putting too much pressure on delicate features.
The growing interest in DIY jewellery care in the UK reflects a desire to preserve these treasured items. The average UK household spends approximately £40 annually on jewellery care products, with sales rising by 12% between 2022 and 2024. Furthermore, 37% of UK consumers now learn polishing techniques from online tutorials, showing a clear trend towards at-home maintenance.
Crucial Tip: Never, ever use paper towels or tissues for polishing. Their fibres might seem soft, but they are abrasive enough to leave a network of fine scratches on your gold, resulting in a hazy, dull appearance over time.
Heavily Tarnished Items
If your gold is heavily tarnished, resist the urge to just press harder. The secret is simply to spend more time on the polishing process. A jeweller's rouge cloth is especially effective here, as its impregnated compound is designed to gently lift away stubborn discolouration without brute force.
A thorough pre-clean is absolutely vital for these pieces. For extra guidance, have a look at our comprehensive article on how to clean gold jewellery. If the tarnish persists even after a patient polish, it might be time for a professional touch.
Handling Gold with Gemstones or Intricate Details
A simple gold band is one thing, but pieces with gemstones or filigree work demand a far more delicate touch. When you're polishing jewellery with fine details, the goal is always to bring out the gold's lustre without harming the other elements. It's crucial to remember that not all stones are created equal.
Hard gemstones like diamonds, sapphires, and rubies are pretty resilient. You can carefully polish the gold settings around them, but you should still avoid any direct, forceful contact with the stone itself. The main priority here is making sure the setting stays tight and secure.
Porous or softer stones, however, require extreme caution. These include:
- Pearls: So delicate they can be scratched even by gentle abrasive compounds.
- Opals: Highly sensitive to chemicals and sudden changes in temperature.
- Turquoise: Known to absorb oils and discolour easily.
For pieces featuring these gems, it's best to keep polishing cloths well away from the stones entirely.
Techniques for Intricate Pieces
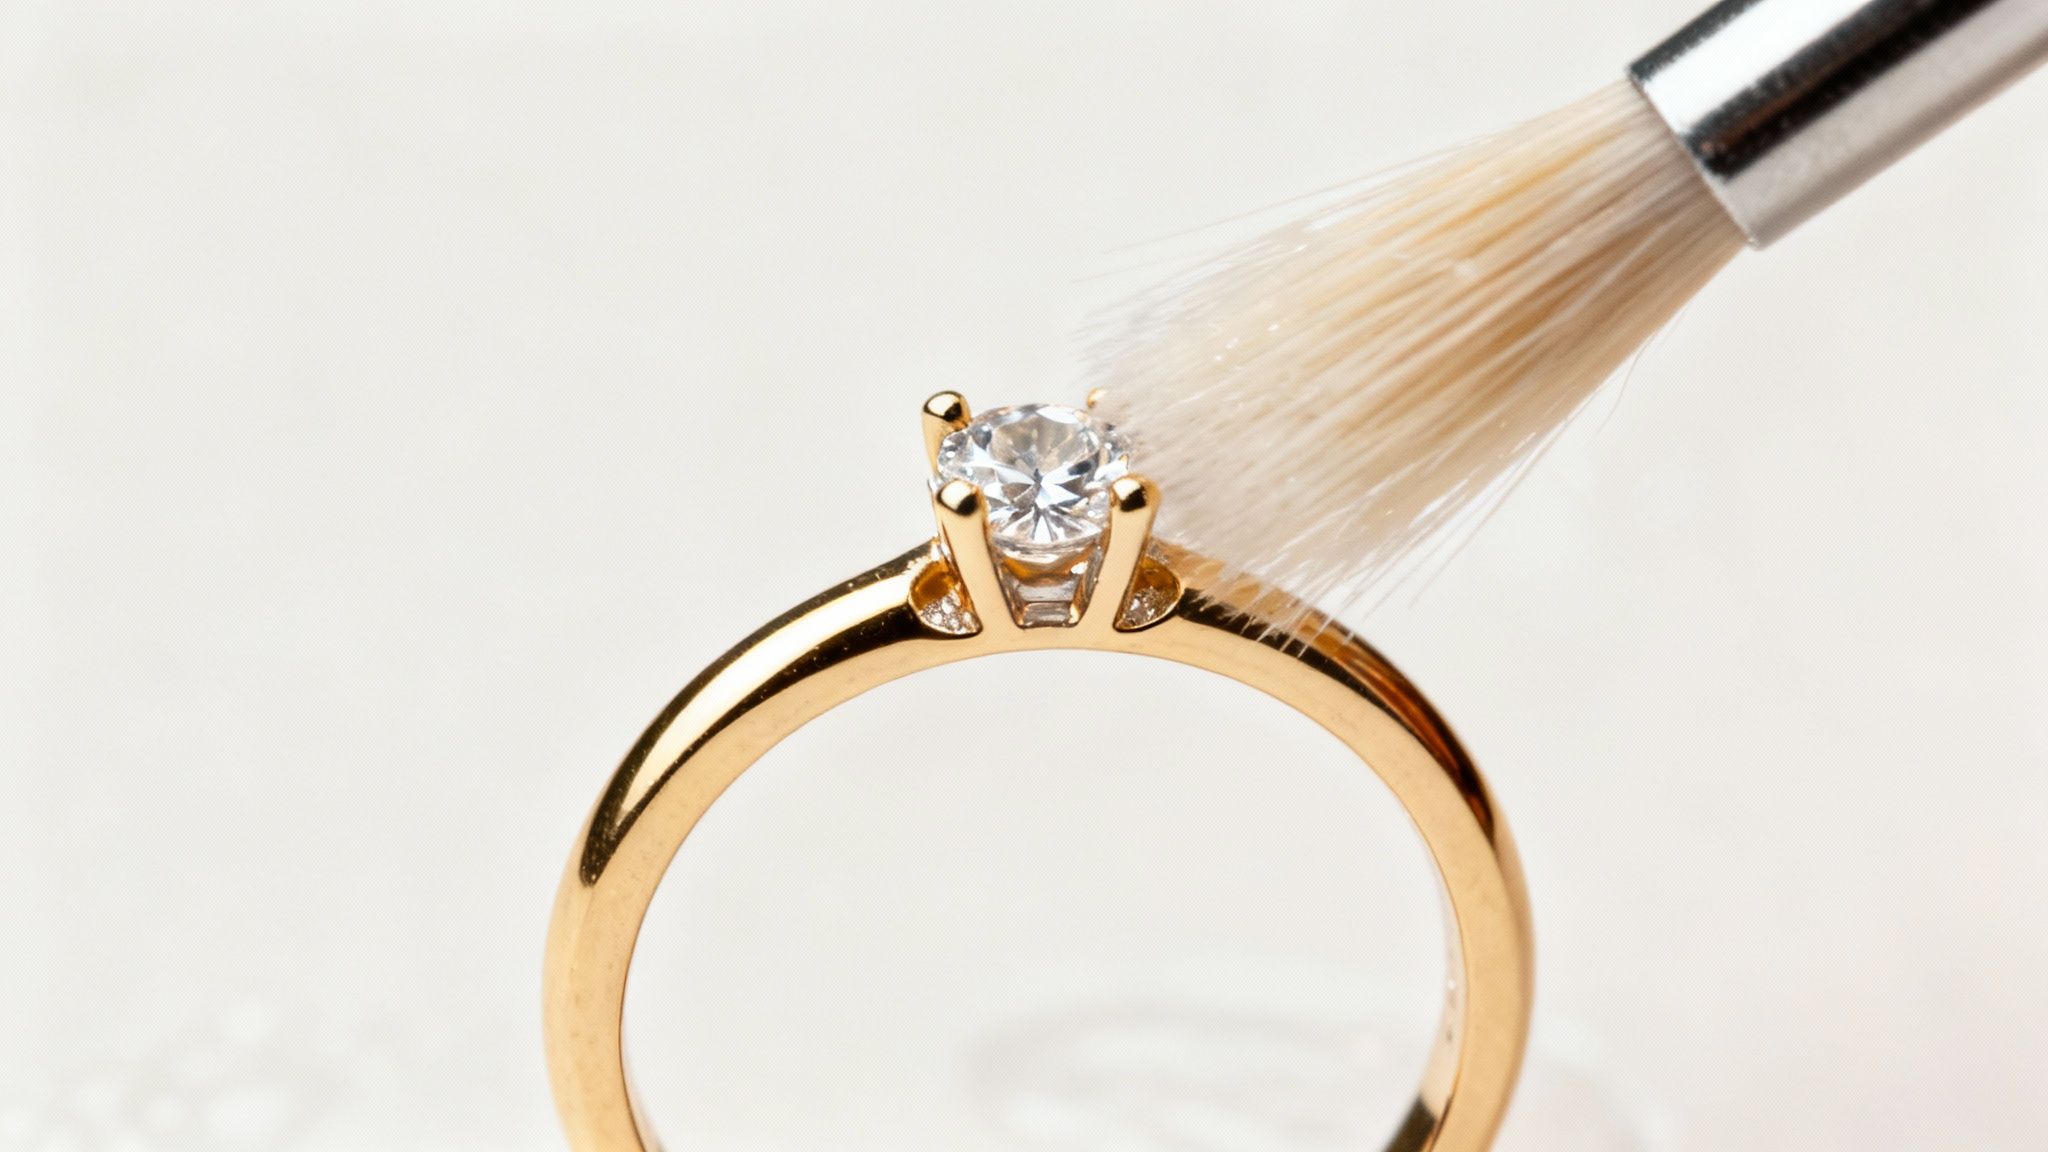
To work around settings and into detailed engravings, precision is everything. A cotton swab, lightly dampened with your cleaning solution, is perfect for gently cleaning around the base of a gemstone. For the polishing stage, try wrapping a tiny piece of your microfibre cloth around a toothpick tip to carefully buff the metal in those tight spaces.
A soft, clean baby toothbrush is an excellent tool for dislodging grime from detailed metalwork without being too harsh. Use gentle, circular motions to lift dirt from crevices before you begin the final polish. This ensures you aren't just pushing dirt around.
If you’re working with white gold, remember that most pieces are rhodium plated. It’s important to understand this coating to avoid damaging it. To learn more about this protective layer, read our article on how long rhodium plating lasts—it’ll help you tailor your maintenance routine perfectly for the finish. A careful approach keeps every element sparkling.
Keeping Your Gold Gleaming for the Long Haul
Once you’ve got your gold looking brand new, the real challenge is keeping it that way. Long-term care isn't about constant, intensive polishing. It’s all about building smart, everyday habits that prevent that dulling film from building up in the first place.
One of the easiest rules to live by is "last on, first off." Your jewellery should be the absolute last thing you put on after your lotions, perfumes, and hairsprays have settled. And it's the very first thing you should take off before you shower or even wash your hands. These products are the biggest culprits, leaving a residue that kills gold's natural lustre surprisingly fast.
Give Your Jewellery a Safe Home
How you store your pieces is just as important as how you wear them. Simply tossing them into a drawer or onto a nightstand is asking for scratches and tangled chains. Every item deserves its own safe spot.
- Soft Pouches: Keep individual items, especially delicate chains or earrings, in their own soft fabric pouches to prevent them from jostling against each other.
- Lined Jewellery Boxes: A jewellery box with felt-lined compartments is perfect for stopping pieces from rubbing and causing micro-scratches.
This small bit of effort makes a huge difference. It prevents the tiny, abrasive marks that accumulate over time, meaning you’ll find yourself needing to polish far less often.
The UK's love for gold is undeniable, with the market valued at USD 5.60 billion in 2024. This figure really highlights why proper maintenance matters so much. While 78% of UK owners use professional services each year, a significant 54% also rely on at-home methods, showing a real commitment to care. You can explore more on the UK's jewellery market trends over at IBISWorld.com.
Finally, always be mindful of where you're wearing your gold. Before you hop in the swimming pool, take it off. Chlorine can cause permanent damage and discolouration, and it's just not worth the risk. A little preventative care really does go a long way in keeping your entire collection pristine.
Your Gold Polishing Questions, Answered
Even with a guide, you're bound to have a few questions before you start. That's perfectly normal. Getting clear, straightforward answers is what separates a brilliant result from an unfortunate mistake, so we've gathered the most common queries to give you that final boost of confidence.
First up, what’s the difference between cleaning and polishing? It's a great question.
Think of it like this: cleaning removes surface dirt, oils, and grime, while polishing smooths away microscopic scratches to bring back that deep, reflective lustre. Cleaning is a crucial first step, but polishing is what truly restores that 'like-new' shine.
Can I Use Toothpaste to Polish Gold?
This is a persistent myth, and the answer is a firm no. Toothpaste contains mild abrasives designed for tooth enamel, which is far, far harder than gold. Using it on your jewellery will create a network of fine scratches, leaving the surface looking dull and hazy. Always stick to a proper jeweller's cloth.
How Often Should I Polish My Gold?
This really depends on how often you wear the piece. There's no single rule.
- Daily Wear Items: For pieces like wedding bands or your favourite necklace, a gentle polish every few months is usually enough to keep them looking their best.
- Occasional Wear Items: Jewellery you only bring out for special occasions might only need a light buffing once or twice a year.
The goal is maintenance, not constant abrasion. Over-polishing can gradually wear away the metal, especially on plated items or pieces with delicate detailing. Less is often more.
When Should I See a Professional?
Finally, it’s important to know when a piece is best left to an expert. If your jewellery has deep scratches, stubborn tarnish that won't lift with gentle buffing, or features delicate gemstones like pearls or opals, it’s always wisest to seek professional help. A skilled jeweller has the specialised tools and expertise to restore your piece safely without risking damage.
At Opulence Jewellery Services, our Hatton Garden workshop is equipped to handle everything from a simple polish to complex restorations. If your cherished pieces need an expert touch, visit us for a same-day service that brings back their original brilliance. Learn more about our professional polishing and repair services at https://www.opulencejewelleryservices.co.uk.